How to photograph clothes to sell online: a practical guide for your store
Light, background, framing and which photos each product needs. A complete guide to shooting your clothes so the photos sell, with or without professional gear.
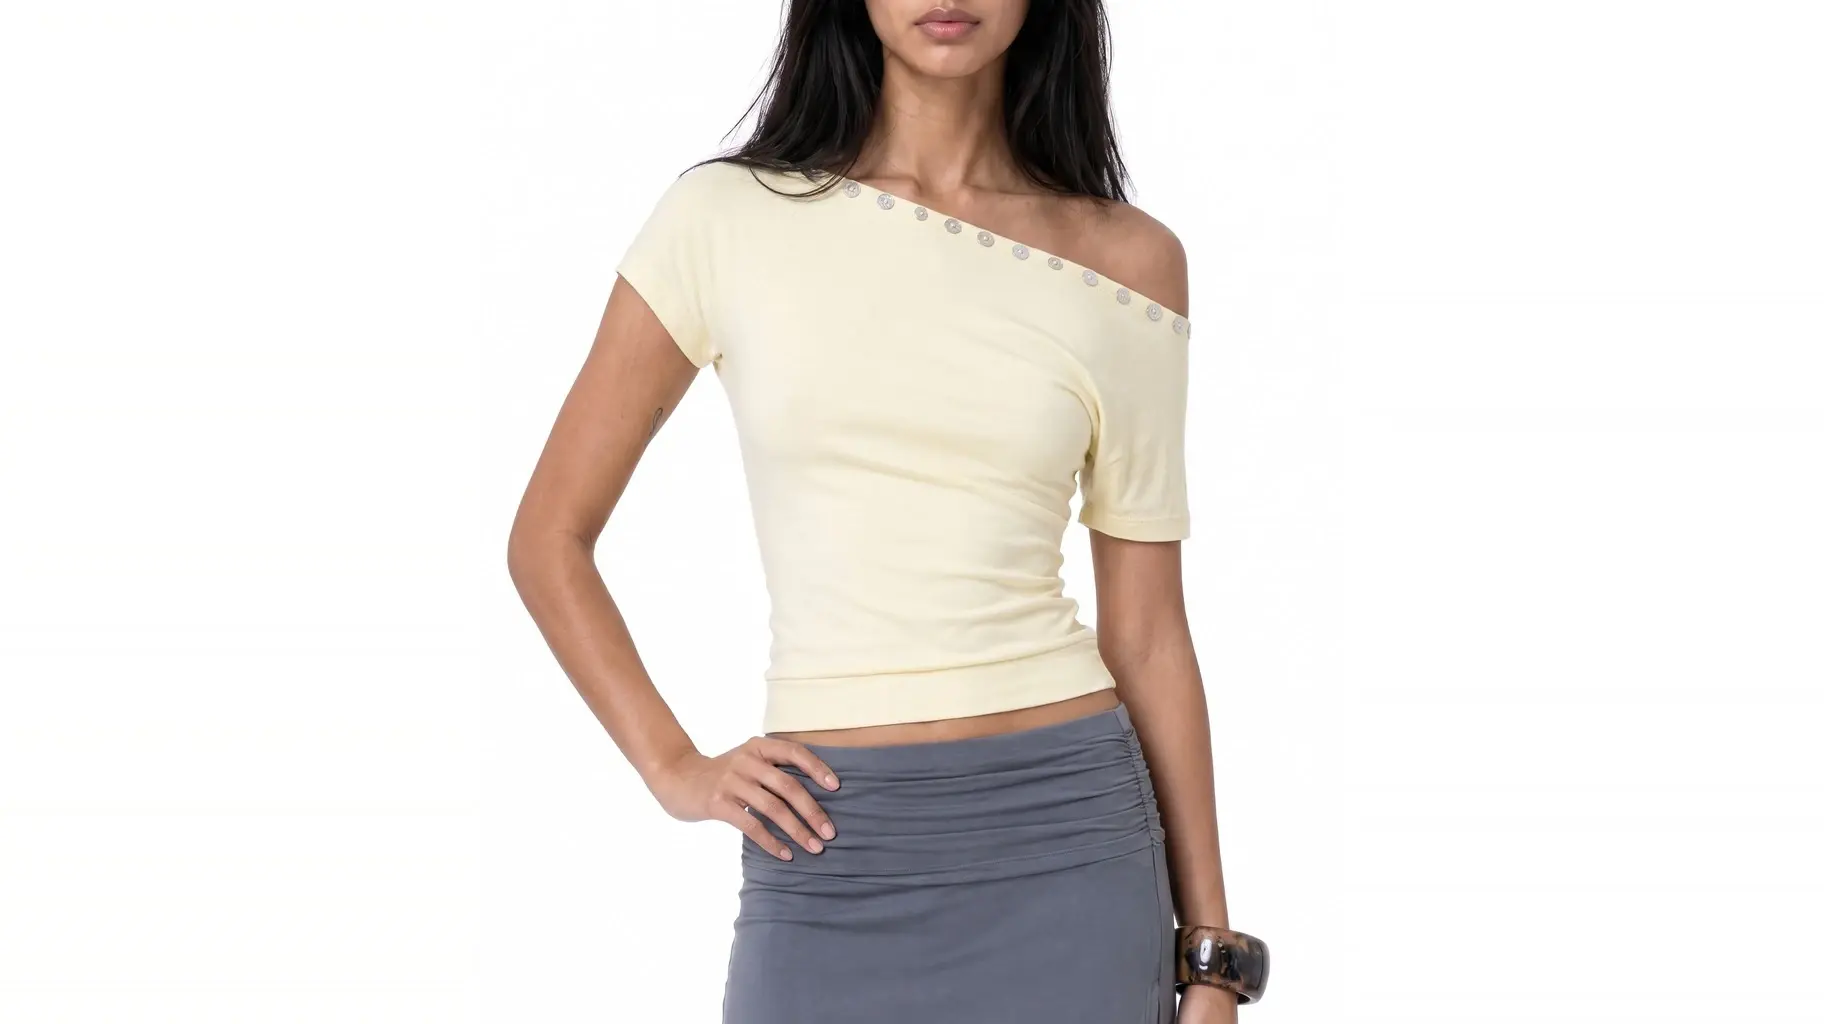
The photo is the only thing your customer can touch before buying. They can’t try on the garment, they can’t feel the fabric, they can’t see how it fits: all they have is the image. That’s why, in an online store, photo quality isn’t an aesthetic matter. It’s the main conversion variable you control.
This guide goes from most to least important, so that if you can only fix one thing, you know which.
1. Light is 80% of the result
Before thinking about the camera, sort out the light. A photo with good light taken on a phone beats a photo with bad light taken on a three-thousand-dollar camera.
The easiest and cheapest: indirect natural light. Place the garment near a large window, but out of direct sunlight. Direct sun creates harsh shadows and blows out whites. An overcast day is, against all intuition, the best day to shoot clothes.
What to always avoid: the room’s ceiling light. It comes from above, creates ugly shadows under the sleeves and tends to cast yellow, which ruins the garment’s true color.
If you want consistency, continuous artificial light. Two sources with diffusers, one on each side, at a 45-degree angle. The advantage isn’t that it looks better than natural light: it’s that it looks the same every day, regardless of weather or time. For a catalog that grows bit by bit, that consistency is worth more than the one-off quality of a single photo.
2. The background: clean and always the same
A white or neutral background, no furniture, no cables, no wall edge cutting across the image. If you sell on marketplaces, a white background is simply a requirement.
What matters isn’t which one you choose but that it doesn’t change. A catalog where one garment is on white, another on wood and another against a gray wall reads as sloppy even if each photo is fine on its own.
A roll of white paper or a well-ironed plain cloth solves this for very little money.
3. Prepping the garment: the step everyone skips
Iron or steam every garment before shooting it. Remove lint with a roller, trim loose threads, straighten collars and cuffs.
It sounds obvious and it’s the most common mistake. In the final photo, enlarged on a screen and under good light, every wrinkle looks three times worse than in person. A wrinkled T-shirt doesn’t say “cotton T-shirt”: it says “this brand doesn’t take care of the details.”
4. Framing and angle
Shoot at the height of the garment’s center, not from above looking down. A high camera distorts proportions and makes the garment look shorter than it is.
Leave breathing room: don’t crop the garment against the edge of the image. You’ll need that margin to adapt the photo to different formats (square for the product page, vertical for social) without cutting anything important.
Use a tripod. Not for professionalism, but because it keeps the framing identical across products, and that makes your catalog look even.
5. Which photos each product needs
This is the minimum checklist per garment:
- Full front, the main photo on the product page.
- Back, especially if it has any detail.
- A close-up detail: the fabric’s texture, a seam, a button, the print. This photo answers “what is it made of?” better than any description.
- The garment on a body, so the fit is clear.
- Context or a styled look, the one that sells on social and makes someone picture themselves wearing it.
You can handle the first three at home with the steps above. The last two are the ones that historically required hiring a model and a studio.
6. The color has to be true
This is the point that causes the most returns. If the blue in the photo is brighter than the blue of the garment, the customer opens the package, is disappointed and sends it back.
Shoot with the same light every time, avoid filters and, if you can, include a white sheet of paper in a test shot to adjust the white balance. If you have to choose between a prettier photo and a more faithful one, always choose the faithful one.
7. Formats and sizes
Each channel asks for its own, but as a rule of thumb:
- Product page: square or vertical, at least 1,000 pixels per side so zoom works.
- Marketplaces: white background, with the garment filling most of the frame.
- Social: vertical, 4:5 or 9:16.
Always keep the original at full quality and export from it for each channel. Cropping an already compressed photo degrades the result.
What you won’t solve at home
With everything above you can put together a tidy catalog. What you’ll hardly manage on your own is the garment on a real body, in context, with consistent art direction, which are exactly the last two photos on the checklist and the ones that sell the most.
There you have three options. Hire a production, which gives the best result but costs time and money every season. Use an invisible mannequin, which gives volume but doesn’t show fit or context. Or generate the photos with AI models, starting from the simple photos you already took with this guide.
We compare every alternative in detail in clothing photos without a model.
What it looks like with Curva
In Curva, the photos you took following this guide are the starting point: you upload them, define your brand’s style once, and produce photos and videos of the whole collection ready to publish (lookbooks, campaigns and ads) with no studio and no shoot.
If you’re building your catalog now, start now and try it with your own garments.